
How To Install Ridge Cap Shingles? (7 Steps)
Apr 15, 2025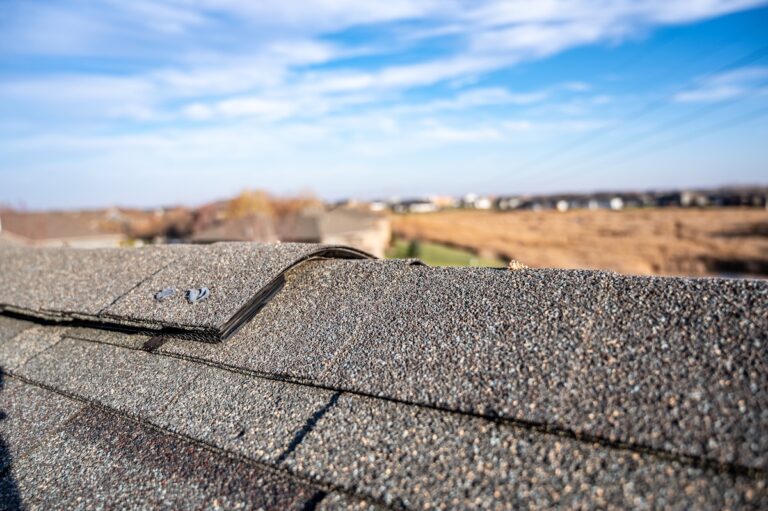
Installing ridge cap shingles is a critical step in safeguarding your roof and home from weather and moisture. Ridge cap shingles provide a finished look to the roof’s peak while offering essential protection against water seepage and wind damage. Whether you’re a homeowner planning to tackle this project yourself or you’re seeking to understand the process better before hiring professional roofers, this guide will walk you through everything you need to know.
From choosing the right materials to the detailed steps for proper installation, we’ve got you covered. Here’s what you’ll walk away with after reading this guide:
- A clear understanding of ridge cap shingles and why they’re vital for your roof.
- Step-by-step instructions to ensure a secure and professional installation.
- Pro tips for achieving a polished, long-lasting finish on your roof.
Now, let’s jump into the details of how to install ridge cap shingles in just 7 steps!
What Are Ridge Cap Shingles, and Why Are They Important?
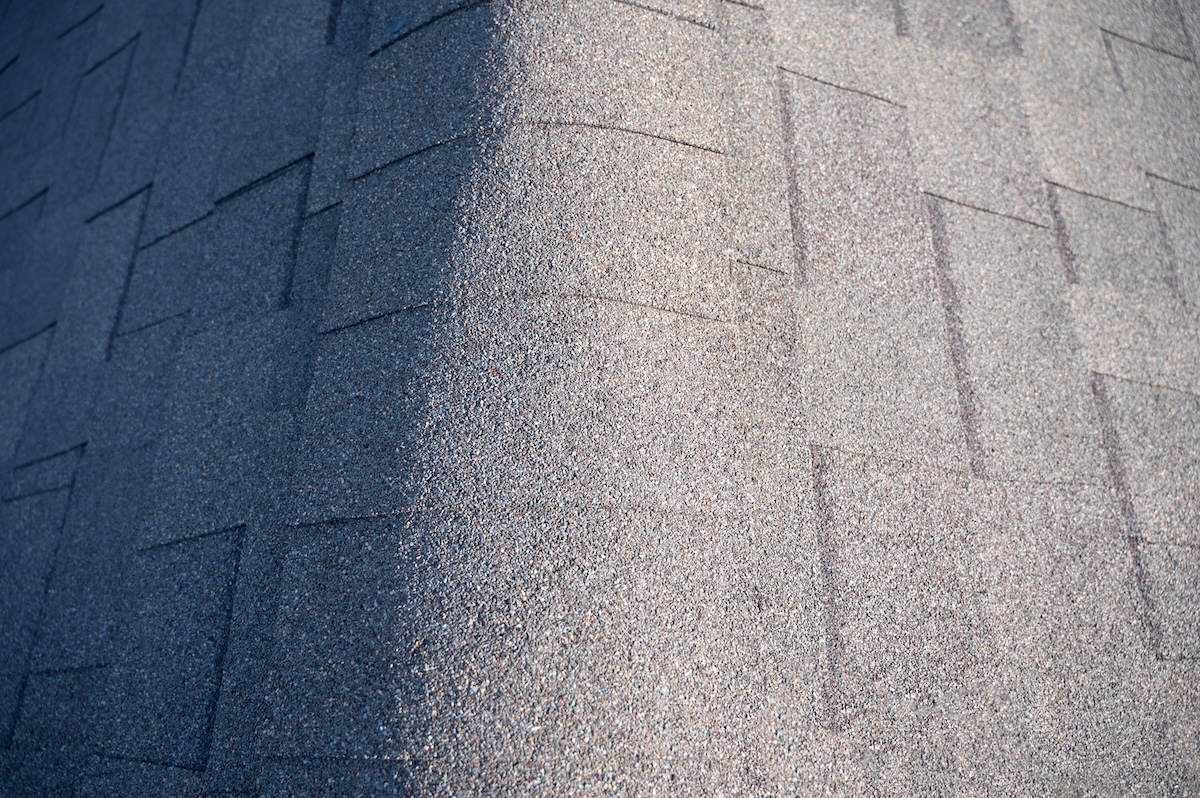
Ridge cap shingles are specifically designed to cover the peak of your roof where two roof slopes meet. This critical component of roofing protects the most vulnerable area of your roof from leaks and weather damage.
Some key benefits of ridge cap shingles include:
- 💧 Protection: They seal the ridge against water and wind infiltration.
- ✨ Aesthetic Appeal: They give your roof a complete, polished look.
- ⏰ Longevity: They add an extra layer of security, reducing wear and tear.
Skipping the installation or improperly installing ridge cap shingles can lead to costly repairs, so understanding this process is essential.
Preparing for Installation
Before starting, gather everything you’ll need to make the process smooth. Proper preparation is a key part of ensuring success.
🛠️ Tools and Materials You’ll Need
- Ridge cap shingles
- Roofing nails
- Roofing hammer or nail gun
- Utility knife
- Chalk line
- Ladder
- Safety harness and gloves
⚠️ Safety First
Roof work involves risks, so follow essential safety precautions:
- Use a sturdy ladder and ensure it’s positioned on even ground.
- Wear a safety harness if working on a steeply pitched roof.
- Avoid working in wet or windy conditions to minimize hazards.
With your tools and safety measures in place, you’re ready to begin.
Step 1 – Measure and Plan the Ridge
The first step in the installation process is to accurately measure the length of your roof ridge. This ensures that you prepare enough ridge cap shingles for the job. Add 10% to your total length as a buffer for cuts and potential waste. Next, snap a chalk line across the ridge to provide a straight guideline for placing your shingles.
A straight line is crucial for neat, uniform placement that looks professional and ensures longevity.
Step 2 – Prepare the Ridge for Installation
Before installing ridge cap shingles, inspect the ridge to ensure it’s free from any debris. Remove any loose materials, nails, or dust that could interfere with adhesion. If your roof has a hip and ridge design, ensure all other shingles are securely installed before moving to the ridge.
This step sets the foundation for a secure attachment.
Step 3 – Cut and Prepare Ridge Cap Shingles
Ridge cap shingles often come pre-cut, but if you’re using regular shingles, you’ll need to cut them to fit. Using a utility knife, divide standard 3-tab shingles into thirds. Each piece becomes a single ridge cap shingle.
Cut carefully, ensuring uniformity in size for a neat and seamless installation.
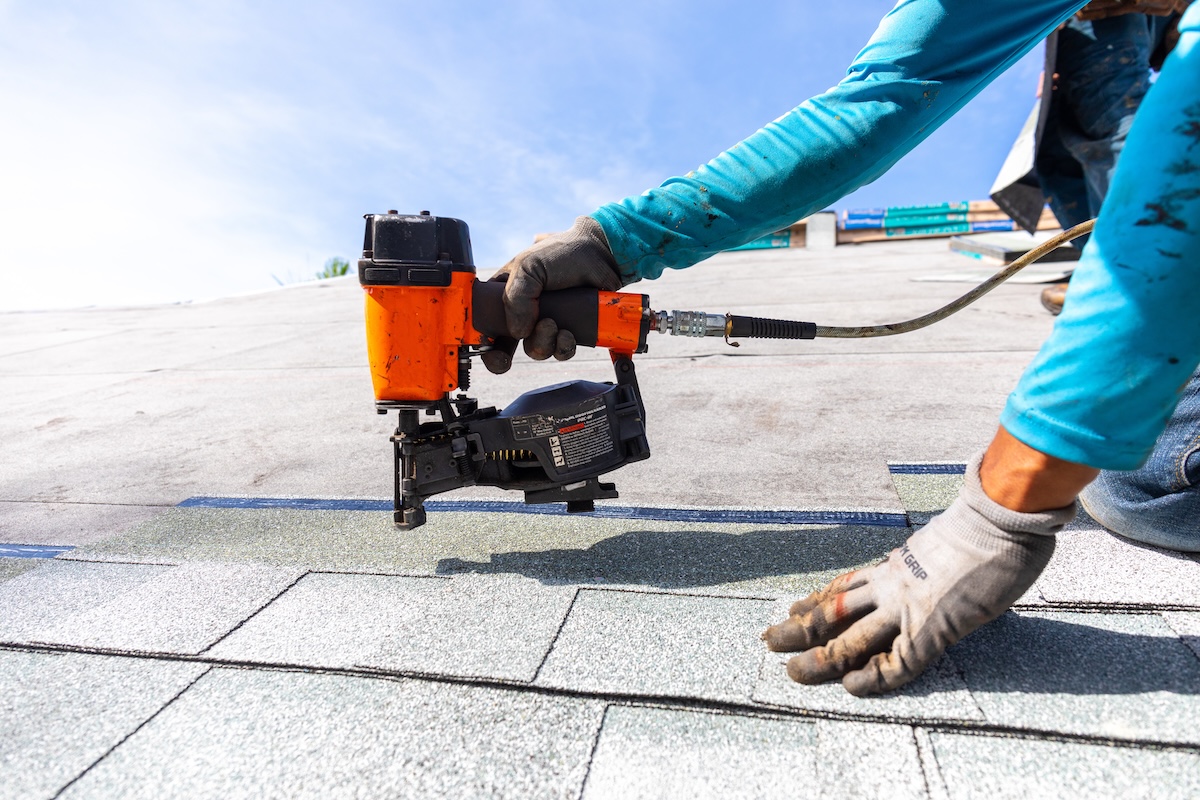
Step 4 – Start at One End of the Ridge
Begin at the end of the ridge opposite the prevailing winds in your area. This ensures that the overlaps of the shingles are positioned to resist wind uplift.
Align the first shingle with your chalk line, letting it hang slightly over the edge to protect the corners. Nail it down with two roofing nails, positioning them about an inch away from the edges.
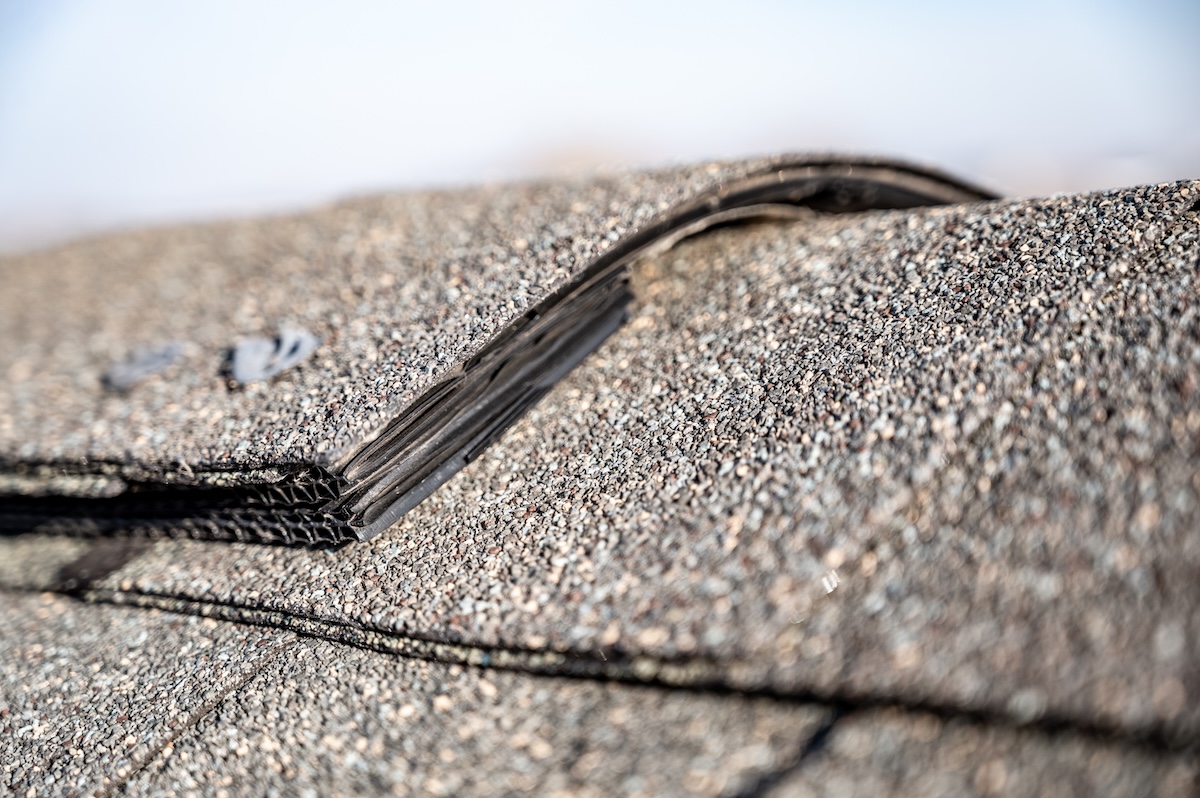
Step 5 – Layer and Overlap Ridge Cap Shingles
This is one of the most important parts of the installation process. Ridge cap shingles must overlap properly to provide full coverage.
Key Guidelines for Overlap:
- Place the next shingle so that it covers the nails of the previous one.
- Each shingle should overlap about half of the preceding piece.
- Nail it securely, using nails on both sides to prevent movement.
The proper overlap not only enhances protection but also creates a visually appealing, seamless look.
Step 6 – Trim the Final Shingle
When you’re near the end of the ridge, you’ll likely need to trim the last shingle for a perfect fit. Use your utility knife to cut the shingle to size, ensuring it fits snugly while maintaining good coverage.
Nail the trimmed piece securely, and consider using roofing adhesive for added security against wind uplift.
Step 7 – Inspect and Finalize Your Work
Once all the shingles are in place, take a step back to inspect your work. Check for:
- Proper alignment along the chalk line.
- Secure nailing with no nails exposed.
- Consistent overlap and coverage.
Making adjustments at this stage ensures a polished finish and long-lasting protection for your roof.
Common Mistakes to Avoid During Installation
- Misalignment: Failing to follow a chalk line can result in a crooked or unprofessional finish.
- Overexposed Nails: Keep nails covered under the overlap of the ridge cap shingles to avoid leaks.
- Rushing the Final Step: Don’t rush the trimming and final inspection stage. Precision here is crucial for a clean finish.
Why Proper Installation Matters
By properly installing ridge cap shingles, you’re ensuring maximum protection for your roof. This extra layer shields one of the most vulnerable parts of your home and enhances your roofs longevity, durability, and aesthetic appeal.
Why Trust Us for Your Roofing Needs?
Installing ridge cap shingles yourself is rewarding, but we understand that roof work can be intimidating and time-consuming for some homeowners. That’s where our professional roofing team comes in.
With years of experience, expert craftsmanship, and a commitment to exceptional service, we’ve helped countless homeowners protect their roofs and enhance their homes. Protect your home with a team you can trust and contact us today!