
How To Install Architectural Shingles? (Step By Step)
Mar 05, 2025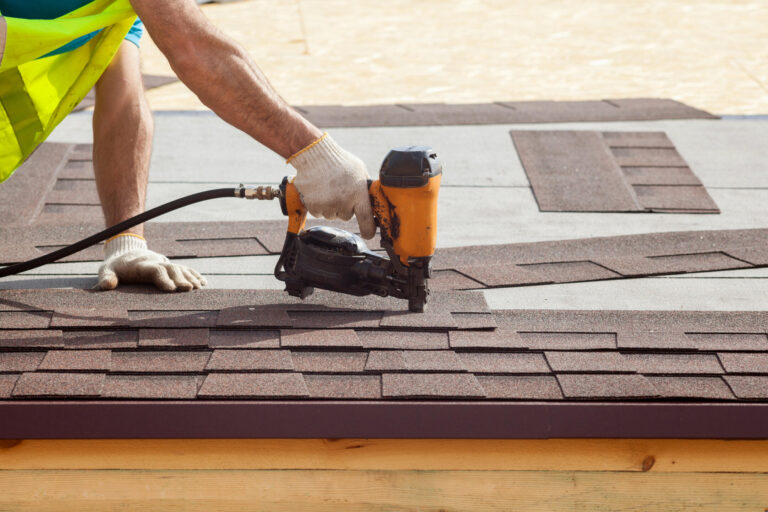
Installing a new roof might seem overwhelming, but with the right tools, preparation, and guidance, laying architectural shingles can be a manageable DIY project or an insightful step towards understanding professional installations. Whether you’re a hands-on homeowner or just want to understand the process, we’ll walk you through every step of how to install architectural shingles on your roof. This detailed guide includes :
- What are architectural shingles and why do homeowners love them?
- Preparing your roof for shingle installation
- Installing architectural shingles step by step
🤔 What are Architectural Shingles?
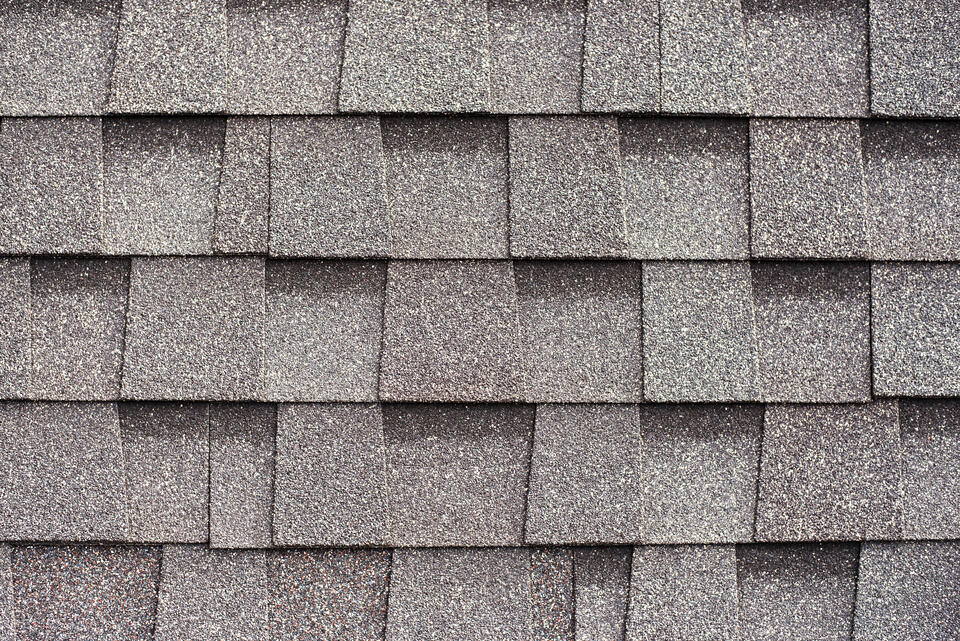
Before we begin, it’s worth understanding why architectural shingles are so popular. Known for their durability and attractive, dimensional appearance, architectural shingles are designed to last longer than standard 3-tab shingles. They’re also heavier and better equipped to resist high winds and harsh weather, offering both style and strength. This makes them a favorite roofing material for style-conscious homeowners looking for a premium option that adds value to their homes.
Why Homeowners Love Architectural Shingles
Architectural shingles offer a range of benefits that make them stand out:
- Enhanced Durability: Built to withstand extreme weather, they resist wind, rain, and snow better than traditional shingles.
- Stylish Look: Their layered design creates a high-end, dimensional appearance that boosts curb appeal.
- Longevity: With a lifespan of up to 30 years or more, they’re a smart long-term investment.
- Low Maintenance: Their quality construction means less frequent repairs and upkeep.
For these reasons, architectural shingles continue to be a top choice for homeowners seeking a reliable and attractive roofing solution.
If you’ve decided to install architectural shingles, here’s everything you need to know.
👉 Prepare Your Roof for Architectural Shingles
Proper preparation is the key to a long-lasting and durable roof. Follow these steps to ensure your roof is ready for your new architectural shingles.
Remove Old Shingles
Before installing new shingles, all old materials must be removed. Use a roofing shovel to carefully strip away the existing shingles, nails, and underlayment. Removing everything down to the roof deck ensures a clean surface and allows you to check for any underlying issues. This step is critical for proper installation and long-term durability.
Inspect the Roof Deck
With the old materials removed, thoroughly inspect the roof deck for damage such as rot, mold, or water stains. Any damaged decking should be replaced immediately to prevent instability and future problems. A solid and secure roof deck is essential to support the weight of the new shingles and protect your home.
Install Drip Edges
Drip edges play a crucial role in protecting the edges of your roof from water damage. These metal strips are installed along the perimeter of the roof to guide water away from the deck and into the gutters. Properly installed drip edges help prevent leaks and maintain the structural integrity of your roof.
Lay the Underlayment
The underlayment is a protective layer between the roof deck and shingles, adding an extra barrier against water.
- Select the Right Material: Choose between felt or synthetic underlayment. Felt is a more budget-friendly option, while synthetic underlayment offers greater durability and ease of installation, making it ideal for heavier architectural shingles.
- Roll Out the Underlayment: Begin at the bottom edge of the roof, rolling it out horizontally. Overlap each row by at least 6 inches to ensure full coverage and better water resistance.
- Secure the Underlayment: Use nails or staples to firmly attach the underlayment to the deck. Smooth out any wrinkles to avoid uneven surfaces that could affect the shingles. Proper installation ensures your underlayment provides maximum protection.
Install the Starter Strip
The starter strip creates the foundation for laying shingles and protects the edges of your roof.
- Align Along the Edge: Position the starter strip so it slightly overhangs the eaves, creating a protective barrier against water and wind. Proper alignment ensures a clean and professional finish.
- Secure with Nails: Attach the starter strip firmly with roofing nails spaced about 6 inches apart. A straight and secure starter strip ensures the rest of the shingles are aligned correctly, providing a durable and visually appealing roof.
🛠️ 7 Steps to Install Architectural Shingles
With your base in place, it’s time to install the shingles. Follow these steps carefully to ensure a durable and professional-looking result.
1. Start at the Bottom Edge
Begin by laying the first row of shingles along the bottom edge of your roof, directly above the starter strip. This area is critical as it provides the foundation for the entire shingle layout. Take your time to align the shingles carefully, ensuring they are straight and even. Be sure to leave the adhesive strip exposed, as this will help secure the next layer of shingles and create a watertight seal. Proper alignment here will set the tone for the rest of the installation and prevent potential gaps or misalignment as you progress.
2. Nail Securely
Once the first row of shingles is in place, secure them using roofing nails. It’s important to drive each nail flush with the surface of the shingle—neither sticking out nor driven too deeply. This ensures the shingles stay firmly in place and won’t come loose under high winds or other weather conditions. Improperly nailed shingles can lead to issues like water leaks or lifting, so double-check your nail placement as you go. Typically, each shingle will require four to six nails, depending on the roof’s slope and local building codes.
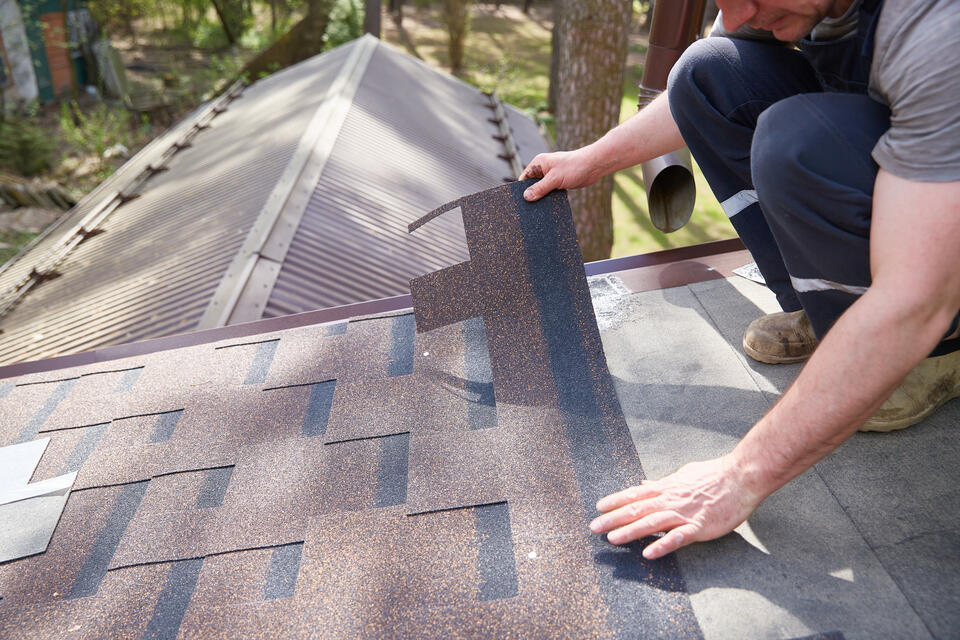
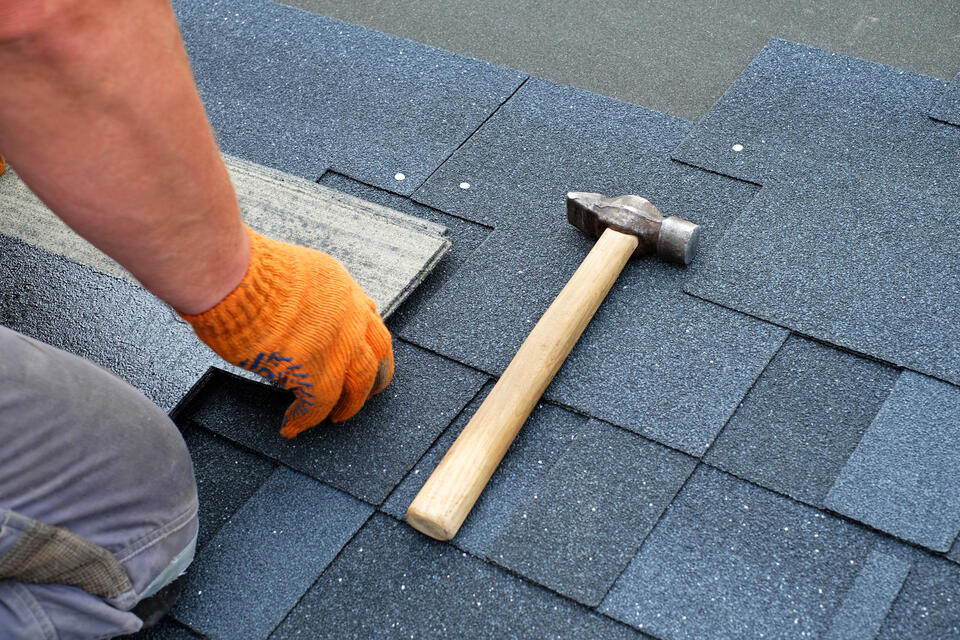
3. Create an Overlap Pattern
As you move to the next row of shingles, cut a shingle in half to begin the row. This staggered pattern ensures that the seams of the shingles in one row do not align with those in the row below. This overlapping technique not only adds strength and stability to the roofing structure but also enhances its appearance. A staggered layout reduces the risk of water seeping through joint lines, as the overlapping shingles provide an added layer of protection. Maintain consistency in the pattern to achieve a neat and professional finish.
4. Work Your Way Up
Continue working your way up the roof, row by row. For each new row, make sure the bottom edge of the shingle overlaps the adhesive strip of the row below it. This overlap is essential for creating a watertight seal and protecting the roof from leaks. Check your alignment continuously to ensure the rows remain straight and evenly spaced. Working upward methodically will not only make the installation process easier but also ensure the shingles properly interlock, forming a solid structure.
5. Install Ridge Cap Shingles
When you reach the top of the roof, it’s time to add ridge cap shingles. These specialty shingles are designed to cover the ridge or peak of the roof, where the two sloped sides meet. Ridge cap shingles provide a finished look while sealing the ridge and preventing water from entering. Start at one end of the ridge, overlapping each piece as you move along. Make sure to use roofing nails to secure them properly, and pay extra attention to ensure a tight seal, as this area is particularly vulnerable to weather exposure.
6. Check Your Work
Once all the shingles are installed, carefully inspect your work. Look for any loose edges, improperly placed nails, or misaligned rows. Address any issues immediately to avoid problems later. Walk the roof carefully and check the adhesive strips to ensure they have bonded. If any areas appear uneven or unsecured, take the time to make necessary adjustments. A thorough inspection at this stage will save you time and money by preventing potential leaks or damage down the line.
7. Finish with Proper Ventilation
Proper ventilation is a key component in maintaining your roof’s longevity. Without adequate ventilation, heat and moisture can build up in the attic, leading to damage, mold, and reduced shingle lifespan. To avoid this, install ridge vents or attic fans as part of the finishing process. Ridge vents are placed along the roof ridge and allow hot air to escape, while attic fans actively circulate air to improve airflow. With proper ventilation in place, your roof will not only perform better but also require fewer repairs over time.
🙌 Expert Roofing Services with O’Leary Roofing
At O’Leary Roofing, we pride ourselves on delivering exceptional craftsmanship and unparalleled customer service. With years of experience and a dedicated team of professionals, we ensure your new roof is installed with precision and care. We use high-quality materials and the latest techniques to guarantee a durable and attractive finish that stands the test of time. Trust us to handle your roofing needs with expertise and a commitment to excellence. Contact O’Leary Roofing today for a free consultation and take the first step toward a secure and beautiful roof!